How to Remove Bathroom Light Fixture Without Screws? Expert Tips
How to remove bathroom light fixture without screws? To remove a bathroom light fixture without visible screws, gently twist the cover counterclockwise—it may unscrew or pop off. If it’s held by clips, carefully pry around the edges with a flathead screwdriver. Always turn off the power at the breaker before starting to avoid electric shock.
Many homeowners face this puzzling dilemma, often feeling stuck and unsure of where to even begin. But don’t worry, because you’re about to discover the secret to tackling this tricky task with ease. Imagine the satisfaction of finally updating your bathroom lighting or fixing a pesky problem, all without any fuss.
By the end of this article, you’ll have the confidence and know-how to remove that fixture like a pro, giving your bathroom the refresh it deserves. Let’s dive into the step-by-step process that will transform your bathroom lighting experience!
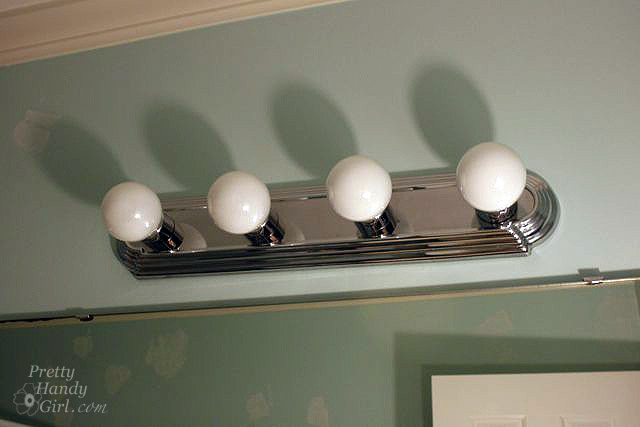
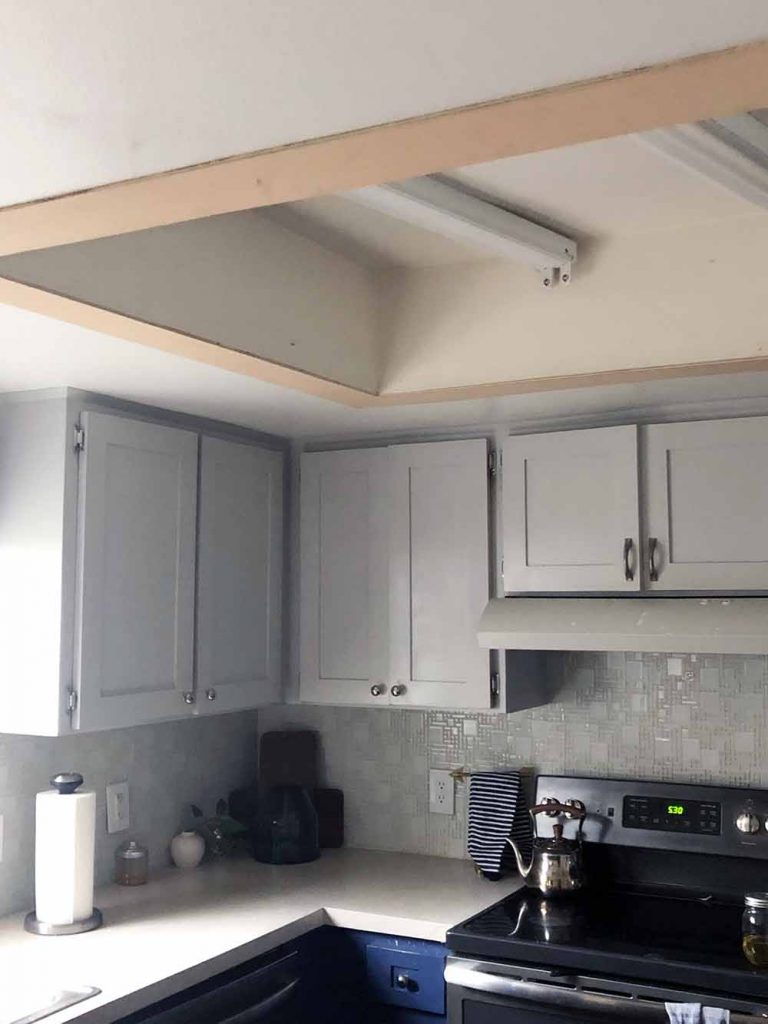
Credit: prettyhandygirl.com
How to Remove Bathroom Light Fixture Without Screws?
Safety Precautions
Removing a bathroom light fixture without screws might seem tricky, but with the right safety precautions, you can do it efficiently and safely. Safety should always be your priority when dealing with electrical fixtures. It’s easy to overlook crucial steps that can protect you from accidents or damage. Let’s delve into essential safety measures you need to take before embarking on this DIY task.
Ensure Power Is Off
Before touching any light fixture, make sure the power is turned off. This is non-negotiable. Go to your circuit breaker and switch off the power supply to the bathroom. Double-check by flipping the light switch to confirm the fixture is inactive. Trust me, you don’t want to find out the hard way that there’s still electricity running.
Use Insulated Tools
Always use tools with insulated handles when dealing with electrical fixtures. This adds a layer of protection in case there’s a residual current. If you’re like me and you love DIY projects, investing in insulated tools is a smart move. They’re not just for this task, but any future electrical work you might tackle.
Wear Protective Gear
Your safety gear isn’t just for show. Wearing gloves and safety goggles can protect you from unexpected sparks or debris. If you’ve ever had a small shard fly towards your eye, you know how vital goggles can be. A simple pair of gloves can prevent cuts from sharp edges as you maneuver the fixture.
Check For Hidden Hazards
Sometimes fixtures are more complex than they appear. Look for hidden hazards such as loose wiring or sharp components. You might find components that need gentle handling to avoid damage. Take your time to inspect the fixture thoroughly; it’s better to be safe than sorry.
Have A Spotter
If possible, have someone assist you. A spotter can give you a second opinion on what you’re doing and help hold the fixture steady. Ever tried balancing a light fixture on your own? It’s much easier with an extra pair of hands. Plus, they can alert you if something seems off.
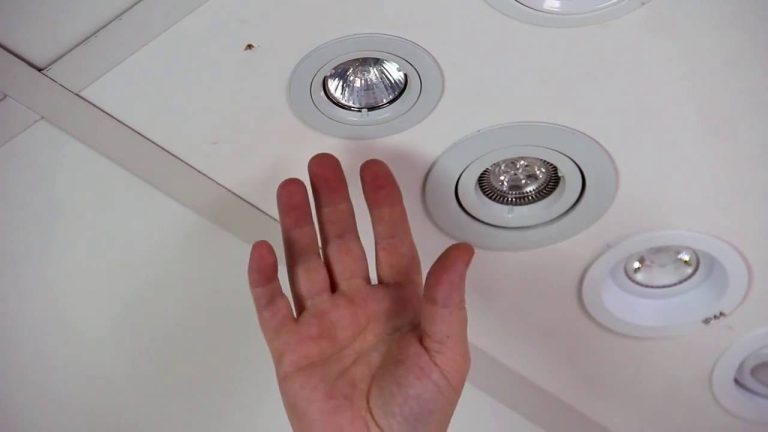
Have you ever removed a light fixture without screws and encountered unexpected problems? Share your experiences and tips below. Your insights might help someone else tackle their project safely!

Credit: www.youtube.com
Tools Needed
Essential tools for removing a bathroom light fixture without screws include a flathead screwdriver and a pair of pliers. A flashlight can help illuminate hard-to-see areas while a gentle pry bar assists in safely detaching the fixture.
Removing a bathroom light fixture without screws can seem like a daunting task, especially if you’ve never tackled a similar project before. However, with the right tools and a bit of patience, you can achieve a seamless removal. Before you start, gathering the necessary tools will ensure the process is smooth and efficient. Let’s dive into what you need to prepare for this DIY task.
Essential Tools
First, gather a ladder or a step stool to safely reach the light fixture. Safety should always be your top priority, and a sturdy ladder provides a stable platform to work from. Next, you’ll need a reliable flashlight. Bathrooms can be poorly lit without the main light, so having a flashlight will help you see what you’re doing clearly. Have a pair of rubber gloves on hand. They not only protect your hands but also provide a better grip, which can be crucial when dealing with delicate fixtures or glass covers.
Screwdriver And Pliers
Even though the fixture may not have visible screws, a screwdriver can be indispensable for prying or gently nudging parts that may be stuck. Opt for a set with both flathead and Phillips head options to ensure you have the right tool for unexpected challenges. Pliers are another versatile tool to keep close. They can be used to twist or pull components that are tightly secured. Needle-nose pliers are especially handy for reaching into tight spaces.
Protective Gear
Consider wearing safety goggles. Removing a light fixture can sometimes cause bits of dust or debris to fall, and you don’t want any surprises getting into your eyes. A dust mask is also a wise choice. If the fixture has been in place for a long time, disturbing it might release dust or small particles. Breathing clean is always better, right?
Replacement Bulbs And Covers
Before you start, think ahead. Do you have a plan for what comes next? If you’re replacing the fixture, having replacement bulbs and covers ready will save you from making additional trips to the store. Plus, it allows you to complete the project in one go, keeping the momentum. Have you ever found yourself halfway through a project, only to realize you’re missing a crucial item? It’s frustrating, and it disrupts your workflow. So, double-check your toolkit before you begin. This approach not only ensures that you have everything you need but also boosts your confidence as you tackle the task. Can you imagine the sense of accomplishment when you finish without any hiccups? You’re all set to make it happen!
Identifying Fixture Type
Easily remove bathroom light fixtures without screws by first identifying the fixture type. Twist or slide off the cover. Gently pull or lift to detach the fixture.
Removing a bathroom light fixture without screws can seem like a puzzle. But the first step in this DIY task is identifying the type of fixture you have. This step is crucial as it determines the method you’ll use to remove it. Understanding your fixture type can save you time and prevent damage to your walls or ceiling.
Types Of Bathroom Light Fixtures
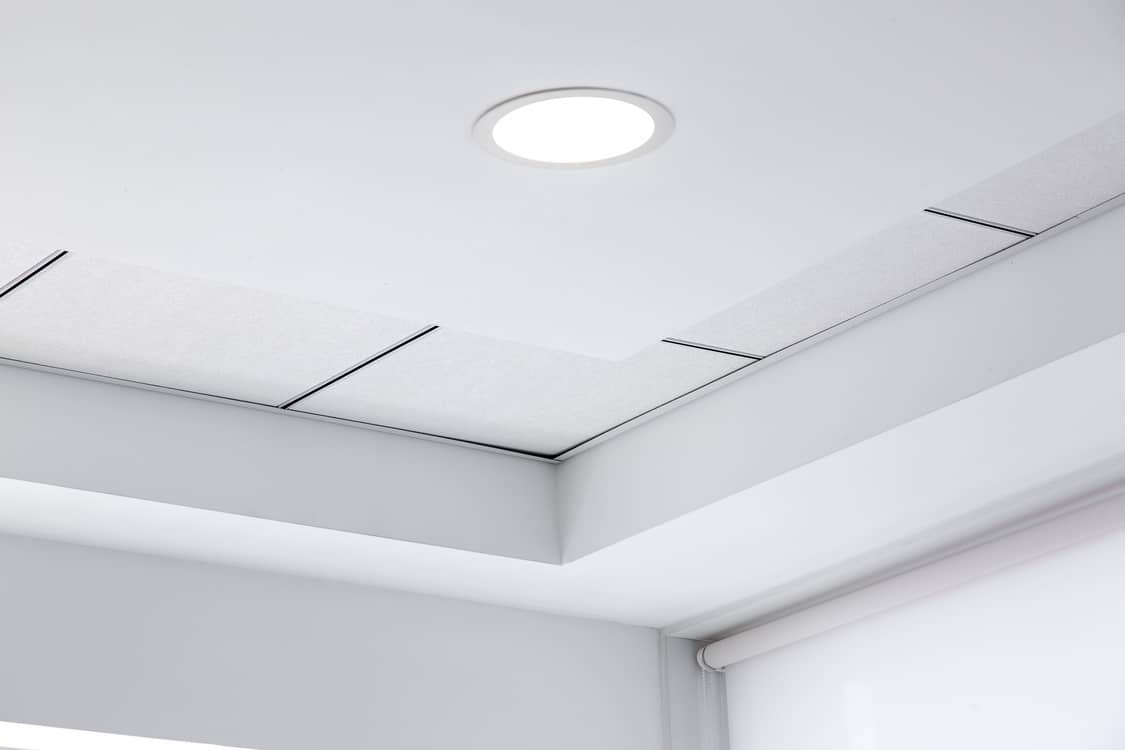
Bathroom light fixtures come in various styles, and knowing which type you’re dealing with is essential. You might have a flush-mount fixture, which sits closely against the ceiling. Alternatively, you could have a hanging fixture, which might be suspended by a chain or rod. Some modern bathrooms feature track lighting or even recessed lights. Each type has its unique removal process, so identifying it correctly is half the battle.
Check For Hidden Mounting Brackets
Many fixtures without visible screws use mounting brackets or clips that are cleverly hidden. These can usually be accessed by gently twisting or lifting the fixture. Do you ever remember those times when it felt like you were solving a mystery just to change a light bulb? This could be one of those moments. Look carefully at the edges of the fixture for any gaps or seams that might indicate a hidden mechanism.
Inspect For Twist-and-lock Mechanisms
Some fixtures, especially the more modern designs, use a twist-and-lock mechanism. This involves a simple twist to release the fixture from its base. A friend of mine once spent hours trying to unscrew a fixture that only needed a gentle twist. It was a lightbulb moment—literally and figuratively. Don’t let this be you!
Consider The Age And Style
Older fixtures might have different removal methods compared to newer models. Vintage fixtures, for instance, might use clips that are not immediately visible. Does your bathroom have a vintage charm? If so, you might need to dig a little deeper to understand its quirks. This can be a fun exploration into the history of your home’s design.
Look For Seamless Glass Domes
Some fixtures have glass domes that appear seamless but are actually held by tension clips or gravity. A gentle pull or twist might be all you need to release it. Have you ever had a moment of doubt, wondering if you’re about to break something expensive? Approach with caution and confidence, and you’ll likely find the solution. Identifying your bathroom light fixture type is the key to a smooth and stress-free removal. Once you know what you’re dealing with, removing it becomes much less daunting. So, take a closer look, and soon, you’ll have that fixture down and ready for whatever comes next.
Detaching The Fixture
Removing a bathroom light fixture without visible screws can seem challenging. But with a little guidance, it can be a straightforward process. The key is understanding how the fixture is secured. This step, detaching the fixture, requires careful handling to avoid damage. Let’s dive into the details.
Identify The Type Of Fixture
Start by observing the fixture closely. Look for any covers or decorative elements. These often hide the actual securing mechanism. Some fixtures use clips or a twist-lock system. Identifying the type helps in understanding how to proceed.
Turn Off The Power
Safety first. Always turn off the power to the light fixture. Use the circuit breaker to ensure there is no electricity flowing. Test the light switch to confirm it is off.
Access The Securing Mechanism
Remove any covers or glass shades. Often, these are held by clips or small notches. Use gentle pressure to release them. If they are stuck, avoid force. Instead, gently wiggle them to loosen.
Detach The Fixture
With the cover removed, inspect the fixture base. You may find slots or clips holding it. Use a screwdriver or your hands to release these clips. If the fixture uses a twist mechanism, hold the base firmly. Then, gently twist counterclockwise to detach it.
Disconnect The Wiring
Once detached, the fixture may hang by wires. Carefully support the fixture with one hand. Use the other hand to disconnect the wires. Note the wiring setup, as this helps during reinstallation.
Remove The Fixture Completely
With wires disconnected, the fixture should come off easily. Place it safely aside. Ensure no parts are left hanging or in the way.
Handling Electrical Connections
Removing a bathroom light fixture without screws involves gentle handling and care. Often, these fixtures have clips or tabs. Gently twist or pull the fixture to locate and release these attachments. Always ensure the power is off before starting to avoid any electrical hazards.
Handling electrical connections in your bathroom light fixture can seem daunting, but it doesn’t have to be. With a bit of patience and the right steps, you can manage this task safely and efficiently. Let’s walk through the process, ensuring you feel confident and prepared.
Step 1: Prioritize Safety First
Before you dive in, always ensure the power is off. Head to your circuit breaker and switch off the electricity to your bathroom. Double-check by flipping the light switch to confirm the power is indeed off. Safety is paramount, so don’t skip this step.
Step 2: Locate The Wire Connections
Once the light fixture is detached from the wall, you’ll see the wires connected to it. Typically, you’ll find three types of wires: black (live), white (neutral), and green or bare (ground). Identify each wire and note their corresponding colors. Understanding what each wire does helps prevent errors during reconnection.
Step 3: Disconnect The Wires Carefully
Use a screwdriver to gently loosen the wire nuts, which are the connectors holding the wires together. As you remove each wire, keep a mental note or take a picture for reference when reattaching them later. This small step saves time and prevents mistakes during reinstallation. Trust me, it’s a lifesaver if memory fails you.
Step 4: Secure The Wires Safely
Once disconnected, wrap the exposed wire ends with electrical tape. This prevents accidental contact and ensures the wires remain safe while you work on removing the fixture. Secure wires also protect you from any accidental electrical shocks. Have you ever wondered how a small task like wrapping wires can make such a difference?
Step 5: Organize Your Tools And Workspace
Keep your tools and any removed parts organized. Place them in a small container or tray to avoid losing any pieces. A tidy workspace helps maintain focus and efficiency. Ever found yourself scrambling to find a missing screw mid-project? Avoid that hassle by staying organized. By following these steps, you can handle the electrical connections of your bathroom light fixture with ease and confidence. Have you ever tackled such a project before? What challenges did you face, and how did you overcome them?

Credit: www.wikihow.com
Frequently Asked Questions
How To Identify Bathroom Light Fixture Type?
Look for clips or knobs. They often hold fixtures without screws. Check the base for any movable parts.
What Tools Are Needed To Remove The Fixture?
Use a ladder, gloves, and a flashlight. Helpful for reaching and seeing fixtures safely.
Can I Remove The Fixture Myself?
Yes, if comfortable with basic tasks. Ensure the power is off before starting to avoid accidents.
Conclusion
Removing a bathroom light fixture without screws is simpler than it seems. First, gather your tools for safety. Then, gently twist or pull the fixture. Check for clips or hidden latches. Be patient and handle with care. Remember to turn off the power before starting.
This prevents any electrical hazards. Once removed, you can clean or replace the fixture easily. This task can enhance your bathroom’s look. Plus, it saves time and money. Always prioritize safety and follow the steps carefully. Happy DIY!
Related Article