How to Clean a Bathroom Exhaust Fan With Light? Expert Tips
How to clean a bathroom exhaust fan with light? Turn off power. Remove the cover and light lens. Vacuum dust from the fan and housing. Wipe blades and cover with a damp cloth. Wash the cover in warm soapy water if needed. Let all parts dry completely before reassembling and restoring power.
But like any other appliance, it needs regular cleaning to function efficiently. Imagine walking into your bathroom and noticing a faint smell, or maybe even a drop in brightness from the light. These could be signs that your exhaust fan needs some attention.
By cleaning it, you not only extend its life but also enhance its performance. Plus, it’s easier than you think! If you’re ready to enjoy a fresher, brighter bathroom, let’s dive into the simple steps to clean your bathroom exhaust fan with light. You’ll be amazed at how a little maintenance can make such a big difference.

Credit: www.youtube.com
How to Clean a Bathroom Exhaust Fan With Light?
Gather Necessary Tools
Begin by gathering necessary tools for cleaning a bathroom exhaust fan with light. Essential items include a screwdriver, soft brush, vacuum cleaner, and mild detergent. Keep these tools handy to ensure an efficient and thorough cleaning process.
Cleaning a bathroom exhaust fan with a light requires preparation. One of the first steps is gathering the right tools. Having everything ready makes the process smooth and efficient. Let’s explore the essential items you’ll need.
Safety First: Turn Off Power
Before starting, ensure safety by turning off the power. Use the circuit breaker to cut electricity to the fan. This step prevents accidents and ensures a safe cleaning process.
Basic Cleaning Supplies
Collect basic cleaning supplies. These include a soft cloth, mild detergent, and water. A gentle cleaner ensures you don’t damage the fan or light.
Screwdriver For Disassembly
You’ll need a screwdriver. It helps remove the fan cover for thorough cleaning. Check whether a Phillips or flathead screwdriver is required.
Vacuum With Brush Attachment
Use a vacuum with a brush attachment. It effectively removes dust and debris. Reach into crevices for a comprehensive clean.
Soft-bristle Brush
A soft-bristle brush is essential. It aids in scrubbing hard-to-reach areas. This tool is gentle yet effective.
Flashlight For Visibility
A flashlight is useful for visibility. It helps spot dirt and grime. Ensure you clean every part of the fan and light.
Protective Gear
Wear protective gear like gloves and goggles. Protect your hands and eyes from dust and debris. Safety should always be a priority.

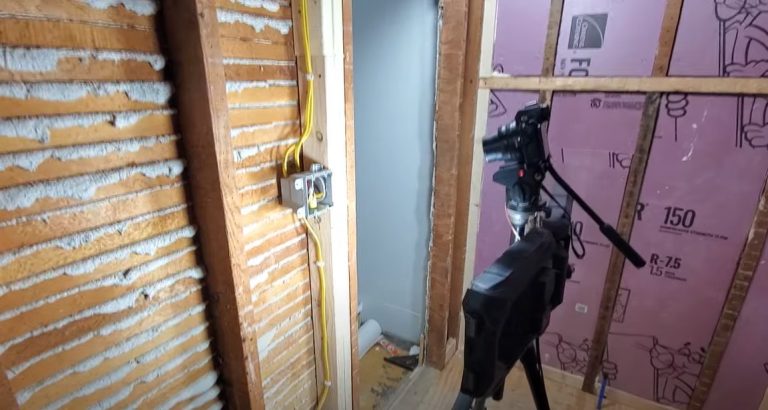
Credit: megeletto.wordpress.com
Power Off Safety Measures
Cleaning a bathroom exhaust fan with light requires caution. Ensuring safety is essential. Turning off the power is the first step. This prevents accidents and ensures a smooth cleaning process. Follow these power off safety measures to protect yourself and your home.
Turn Off The Circuit Breaker
Locate your home’s circuit breaker panel. Find the switch labeled for the bathroom. Flip it to the “off” position. This cuts power to the exhaust fan and light. Double-check to confirm it’s turned off.
Test The Light Switch
Before starting, test the light switch. Flip the switch on and off. Ensure the light does not turn on. This confirms the power is truly off. Safety first, always.
Use A Voltage Tester
For extra safety, use a voltage tester. Place it near the fan wires. It should not detect any current. This step ensures maximum safety. Be thorough and cautious.
Remove The Fan Cover
Once power is off, remove the fan cover. Gently pull or unscrew it. Be careful not to damage it. Clean the cover separately later.
Remove And Clean Fan Cover
Cleaning the bathroom exhaust fan with light starts by removing the fan cover carefully. Once detached, wipe the cover with a damp cloth to remove dust and grime. Ensure thorough drying before reattaching to maintain optimal fan performance.
Cleaning your bathroom exhaust fan with light might seem like a daunting task, but removing and cleaning the fan cover is a straightforward process that can make a world of difference in your bathroom’s air quality. You don’t have to be a professional to tackle this task. With a few simple steps, your fan will be free of dust and grime, running more efficiently than ever.
Identify The Type Of Exhaust Fan Cover
Before you start, determine the type of cover your exhaust fan has. Some covers are held by screws, while others have clips that can be gently pried away. Take a moment to inspect your fan and gather any tools you might need, such as a screwdriver or a step ladder.
Turn Off The Power
Safety comes first. Ensure the power to your bathroom fan is turned off at the circuit breaker. This step prevents any accidental electrical shocks and allows you to clean safely without the fan suddenly turning on.
Remove The Fan Cover
Stand on a sturdy step ladder for better reach and stability. If your cover is attached with screws, use a screwdriver to carefully remove them. For covers with clips, gently pull them down until the cover comes off. Remember how it was attached, so you can easily put it back.
Clean The Fan Cover Thoroughly
Once the cover is off, take it outside or to a well-ventilated area. Use a vacuum with a brush attachment to remove loose dust. Then, wash the cover with warm, soapy water. A toothbrush can help scrub away stubborn grime, especially in corners.
Dry And Reattach The Cover
After cleaning, ensure the cover is completely dry before reattaching it. Use a clean cloth or let it air dry. Reattach the cover to the fan, making sure it’s securely in place, either by tightening the screws or snapping the clips back.
Turn The Power Back On
Finally, switch the power back on at the circuit breaker. Test the fan and light to ensure everything is working correctly. Notice how the fan runs more efficiently without the dust buildup. Cleaning the fan cover not only improves the functionality of your bathroom exhaust fan but also contributes to better air quality in your home. When was the last time you gave your fan a good clean?
Clean Fan Blades And Motor
Dust and debris can slow a bathroom exhaust fan with light. Remove the cover and clean fan blades and motor gently. Ensure all components are dry before reassembly for optimal performance.
Cleaning the fan blades and motor of your bathroom exhaust fan with light is crucial for maintaining efficiency and prolonging its lifespan. Often overlooked, these components can accumulate dust and grime, reducing air flow and causing the fan to work harder than necessary. By dedicating a little time to clean these parts, you can ensure better performance and potentially save on energy costs.
Remove The Cover
First, ensure your safety by turning off the power to the bathroom fan at the circuit breaker. Use a sturdy step stool or ladder to reach the fan. Gently remove the fan cover by pressing the clips or screws that hold it in place. This is your entry point to the inner workings of your fan.
Dust Off The Blades
Once you have access to the fan blades, use a soft brush or a microfiber cloth to dust them off. Be gentle to avoid bending or damaging the blades. You might be surprised to see how much dust has accumulated—it’s a clear sign of how necessary this task is.
Clean With Mild Detergent
Prepare a solution of warm water and mild detergent. Dip a cloth into the solution and carefully wipe down each blade. Ensure not to let water drip into the motor. This step helps in removing stubborn grime that could be affecting performance.
Inspect The Motor
While cleaning, take a moment to inspect the motor for any visible issues. Are there any loose wires or unusual wear and tear? A quick check can save you from future headaches, alerting you to any potential problems early on.
Dry And Reassemble
After cleaning, let the blades and motor area dry completely. Use a dry cloth to speed up the process if necessary. Once everything is dry, reattach the cover securely and restore power to the fan. Cleaning your bathroom exhaust fan blades and motor might seem like a small task, but it can make a big difference in the air quality and energy efficiency of your home. Have you checked your fan recently? It might be time to give it the attention it deserves.
Reassemble And Test Functionality
Reassemble the bathroom exhaust fan and light carefully. Ensure all parts fit securely. Test the fan and light to confirm they work properly.
Reassembling and testing the functionality of your bathroom exhaust fan with light is like the final piece of a puzzle. Once you’ve cleaned each component, putting them back together seamlessly is crucial. It’s the moment where you ensure everything works as it should, leaving you with a sense of accomplishment. But how do you ensure it’s done right? Let’s dive into the specifics.
Reassemble The Fan Components
Begin by carefully placing the fan blades back onto the motor. Align them correctly to avoid any wobbling during operation. Secure them firmly to ensure they stay in place. Next, reattach the light fixture. This can be a bit tricky, especially if wires are involved. Make sure the connections are tight and the bulb is properly seated. A loose bulb can cause flickering or not function at all. Finally, snap the cover back onto the fan. Ensure it clicks into place securely. A loose cover can affect airflow and cause noise.
Check Electrical Connections
Before testing, double-check all electrical connections. Are the wires properly insulated? Loose wires can lead to malfunctions or short circuits. Turn off the power at the circuit breaker and use a voltage tester to ensure safety. It’s always better to be safe than sorry. Once everything looks secure, restore power and check for any unusual sounds or smells. These are telltale signs that something is amiss.
Test The Fan And Light
Now, flip the switch. Does the fan hum smoothly? Is the light bright and steady? Check the airflow. Hold a piece of tissue paper near the vent. If it flutters vigorously, your fan is doing its job. Look for any flickering or dimming of the light. A steady glow indicates proper functioning.
Observe Any Unusual Noises Or Vibrations
Listen closely. Is there any rattling or buzzing? Such noises might mean components are not properly secured. Feel the fan. Is there excessive vibration? This could indicate misalignment or imbalance in the fan blades. These subtle signs can save you from future headaches.
Maintenance Tips For Longevity
Regularly clean your fan to prevent dust buildup. A clean fan runs more efficiently and lasts longer. Replace bulbs promptly to ensure consistent lighting. Consider energy-efficient bulbs for longer life and lower bills. Keep an eye on the fan’s performance. If you notice any decline, address it immediately to prevent larger issues. Have you ever reassembled something only to find it didn’t work quite right? It can be frustrating, but with these steps, you can ensure your bathroom fan and light operate perfectly. Wouldn’t it be great to enjoy a fresh, well-lit bathroom without worrying about malfunctioning equipment?

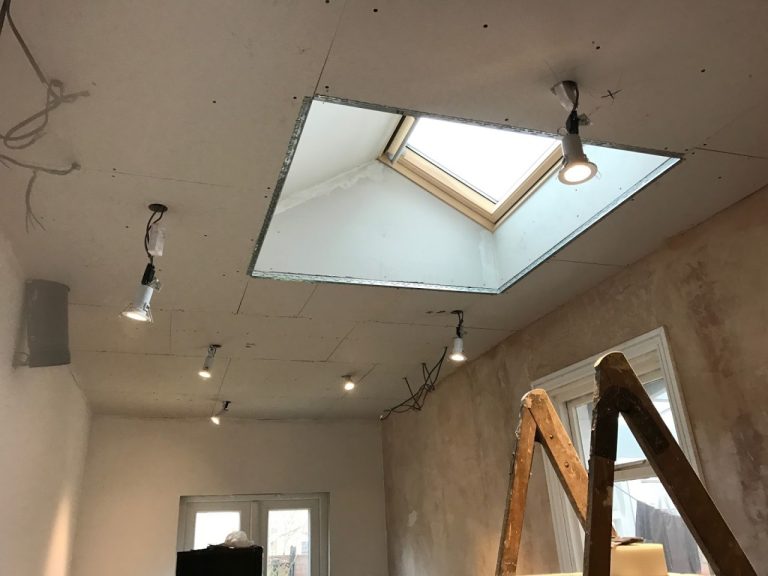
Credit: megeletto.wordpress.com
Frequently Asked Questions
How Often Should You Clean A Bathroom Exhaust Fan With Light?
Clean your exhaust fan every six months. This helps maintain efficiency and prevents dust buildup.
What Tools Do You Need To Clean The Fan?
You’ll need a screwdriver, vacuum, soft brush, and mild cleaner. Gather these before starting.
Can You Clean The Fan Without Removing It?
Yes, you can. Use a vacuum and brush to remove dust without taking it down.
Conclusion
Cleaning your bathroom exhaust fan with light is easy. Regular maintenance keeps it efficient. Gather your tools and unplug the fan. Remove the cover and clean it thoroughly. Use a vacuum to clear dust from the fan blades. Wipe the light fixture gently.
Reassemble everything carefully. Regular cleaning reduces noise and improves airflow. Follow these steps every few months. Your fan will stay in great shape. A clean fan keeps your bathroom fresh. Enjoy a cleaner and healthier space. Keep up with maintenance for a happy bathroom environment.
Related Article