How to Add Recessed Lighting to a Room: Expert Tips
How to add recessed lighting to a room? To add recessed lighting, plan your layout, turn off power, and mark ceiling spots. Cut holes, run electrical wiring to each location, and install remodel or new-construction housings. Connect wires, secure fixtures, and attach trim. Restore power and test the lights. Consider hiring an electrician for safety.
It’s more than just an upgrade; it’s a chance to redefine the atmosphere of your home. Whether you’re looking to highlight specific areas, create an illusion of more space, or simply enhance the overall aesthetic, recessed lighting offers a subtle yet powerful solution.
You might think it’s a complex task reserved for experts, but with the right guidance, you can successfully install recessed lighting yourself. This guide will walk you through each step, ensuring you have the confidence and know-how to illuminate your room perfectly. Ready to light up your space and elevate your home’s ambiance? Let’s dive in!
How to Add Recessed Lighting to a Room
Choosing The Right Fixtures
Choosing the right fixtures for recessed lighting is crucial. It affects both style and function. The right fixture enhances your room’s ambiance. It provides adequate light for daily activities. Explore different options before making a decision.
Fixture Type
Fixture type is the first decision. There are several types to consider. Standard cans are common in many homes. They offer a classic look and fit well in most spaces. Low-profile fixtures are great for rooms with limited ceiling space. They sit flush with the ceiling, creating a sleek look.
Trim Style
Trim style affects the fixture’s appearance. Reflector trims help direct light downward. They work well in kitchens or workspaces. Baffle trims reduce glare, making them ideal for living areas. Choose a style that complements your room’s decor.
Bulb Type
Bulb type impacts lighting quality and energy use. LED bulbs are energy-efficient and last longer. They provide bright, clear light for any room. Halogen bulbs are another option. They offer warm light but use more energy.
Dimming Options
Dimming options provide flexibility in lighting. A dimmer switch lets you adjust the light level. This is useful for setting different moods. Ensure your fixture and bulb support dimming for best results.

Credit: m.youtube.com
Planning The Layout
Adding recessed lighting to a room can transform its ambiance. Proper planning is essential. It ensures the lights are both functional and aesthetically pleasing. Before installation, consider how the light will interact with the space. Think about the room’s size, purpose, and existing features. These factors guide the layout of your recessed lighting.
Determine The Room’s Purpose
Identify the main activities in the room. Is it a living room, kitchen, or bedroom? Each room has different lighting needs. Living rooms might require ambient lighting for relaxation. Kitchens benefit from task lighting over counters. Bedrooms often need softer, adjustable lighting. Knowing the room’s purpose helps tailor the lighting layout to suit specific needs.
Assess The Room’s Size
Consider the dimensions of the room. Larger spaces may need more lights. Smaller rooms might need fewer. The size of the room affects the number and placement of lights. Too few lights can make the room feel dim. Too many can create harsh, overwhelming brightness. Balance is key to achieving the right ambiance.
Identify Key Features
Look for architectural features or focal points. These might be artwork, furniture, or a fireplace. Highlight these with strategically placed lights. Recessed lighting can accentuate these features. It draws attention and adds depth to the room. Proper placement enhances the visual appeal.
Consider Ceiling Height
Ceiling height influences light placement and type. Higher ceilings may require more powerful lights. Lower ceilings might need softer, diffused lighting. Ensure the lights are spaced evenly. This prevents shadows and uneven lighting. Proper spacing creates a harmonious and well-lit environment.
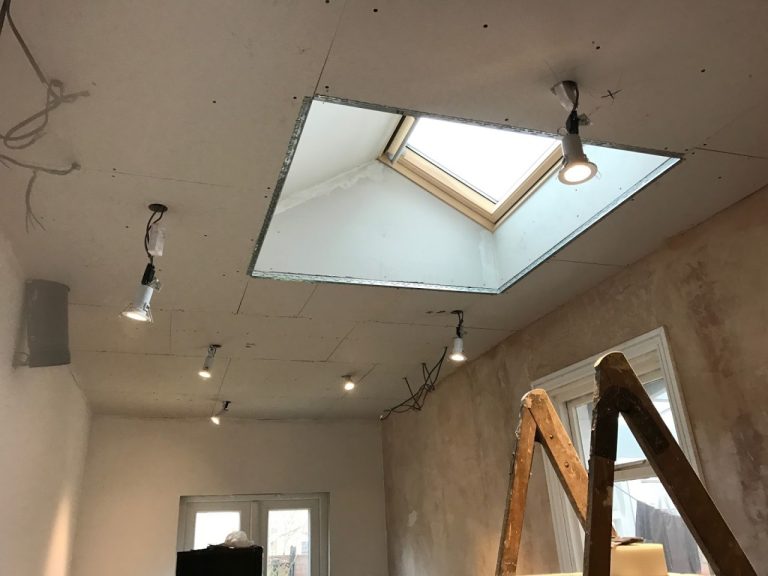
Preparing The Ceiling
Begin by clearing the ceiling area to ensure it is free from obstructions. Ensure it is clean and dry. Mark spots where recessed lights will be installed using a pencil or chalk for accuracy.
Adding recessed lighting to a room can dramatically transform your space. It brings a modern and sleek look, enhancing both the functionality and aesthetic appeal of your home. But before you start drilling holes, it’s crucial to prepare your ceiling properly. This step can make or break the outcome of your lighting project. Let’s dive into how to get your ceiling ready for recessed lighting.
Check For Obstacles
First, ensure there are no obstacles like plumbing or ductwork in your ceiling. Use a stud finder to locate joists and mark them. This will help you plan the placement of your lights. If you’re unsure, consult your home’s blueprints or ask a professional. It’s better to be safe than to have a light fixture with nowhere to go.
Measure And Mark
Plan the layout of your recessed lights by measuring and marking their locations on the ceiling. Use a tape measure to ensure even spacing. This will help you achieve a balanced look. Make sure to keep a consistent distance from the walls. For example, place lights around 24 inches from the walls to create an even spread of light.
Plan The Wiring
Think about how you’ll run the electrical wiring. This step requires careful planning to ensure safety and functionality. If electrical work feels daunting, consider hiring a licensed electrician. They can help you avoid costly mistakes and ensure everything is up to code.
Cut The Holes
Once you’ve marked your spots, it’s time to cut the holes. Use a hole saw that matches the diameter of your light fixture. Take your time and go slowly to avoid mistakes. A clean cut will make the installation easier and more professional-looking.
Consider Insulation
If your ceiling is insulated, it’s important to choose IC-rated recessed lights. These are designed to be in contact with insulation without risk of fire. Check your local building codes regarding insulation and recessed lighting. Meeting these standards will ensure safety and efficiency in your home. — Have you ever had a project where preparation saved you from headaches later on? By preparing your ceiling correctly, you set the stage for a successful lighting upgrade. It’s all about laying the groundwork for a brighter, more inviting space.
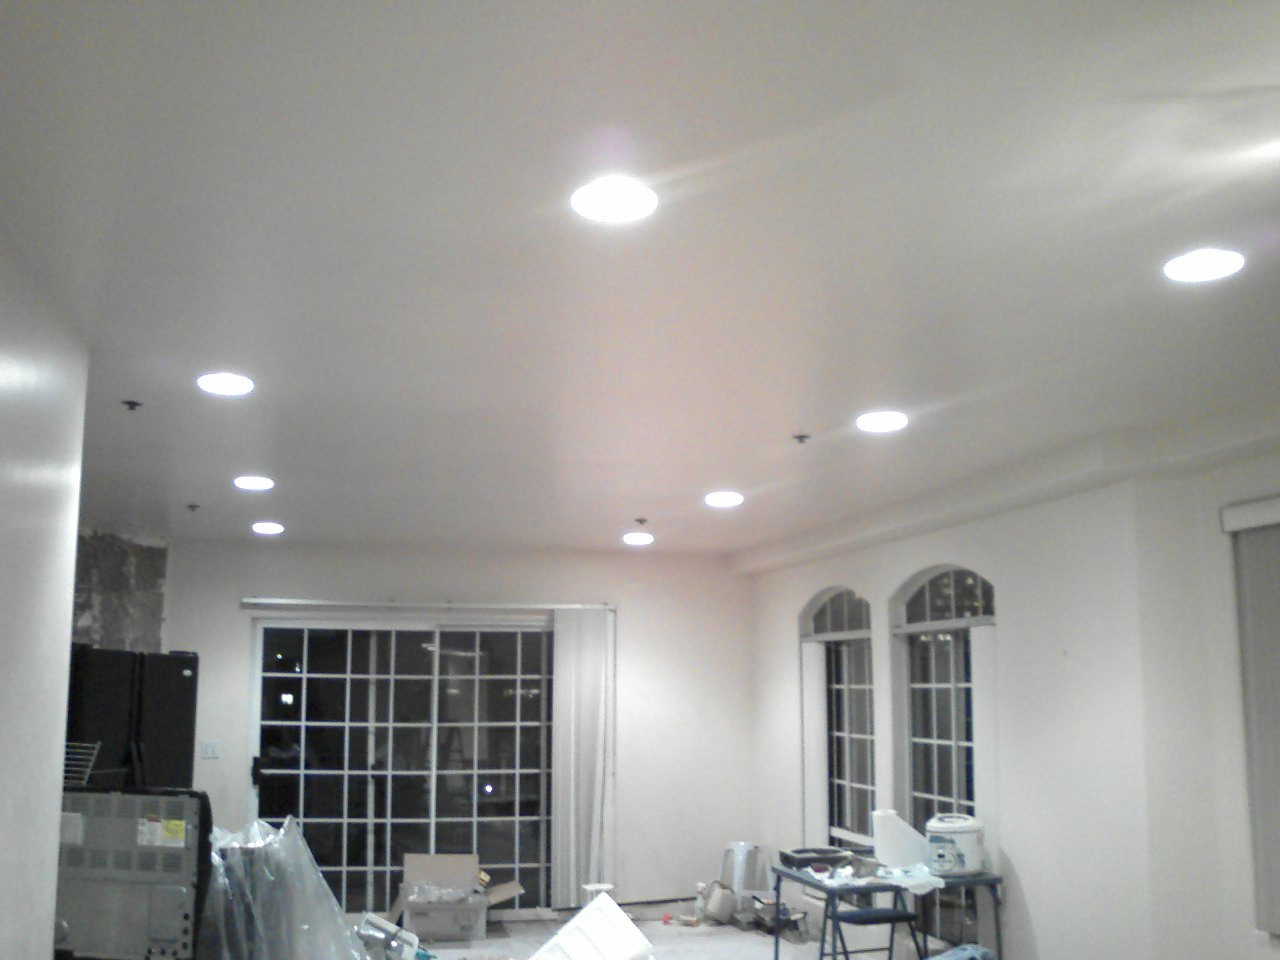
Installing The Lighting
Transform any room with recessed lighting by following simple installation steps. Cut holes in the ceiling, wire the lights, and secure the fixtures. Enjoy a well-lit space with a sleek, modern look.
Adding recessed lighting to a room can transform your space, offering a sleek and modern look while improving functionality. The process might seem daunting, but with the right guidance, you can achieve professional results. Let’s dive into the installation process and illuminate your home like a pro.
Understanding Your Ceiling Structure
Before you start, take a moment to assess your ceiling. Is it a drywall, plaster, or a drop ceiling? Knowing this helps you determine the type of recessed lighting fixtures you need and how they will be installed. For instance, drywall ceilings require holes to be cut for the lights, while drop ceilings might need special mounting brackets.
Gathering Your Tools And Materials
Preparation is crucial. Gather all necessary tools and materials before you begin. You will need a drywall saw, a tape measure, a voltage tester, wire strippers, and of course, the recessed light kits. Having everything at your fingertips saves time and keeps the process smooth. Think about the lighting effect you want to achieve. Do you want even lighting throughout the room or focused light on specific areas? Use a tape measure and pencil to mark where each light will go. This step ensures you avoid obstacles like ceiling joists or air ducts.
Cutting The Holes
This part requires precision. Using your marked spots, carefully cut holes in the ceiling with a drywall saw. Ensure each hole matches the size of your recessed lighting housing. Uneven cuts can lead to tricky installations and visible gaps.
Wiring The Lights
Safety first. Turn off the power at the circuit breaker before handling any wires. Use a voltage tester to confirm the power is off. Connect the wires from your light fixture to the corresponding wires in the ceiling. If you’re unsure, consult a professional electrician to avoid any electrical mishaps.
Installing The Fixtures
Slide the light housing into the cut holes. Secure them using the clips or brackets provided in your lighting kit. Make sure they sit flush with the ceiling for that clean, seamless look. Proper installation ensures your lights not only look good but also function safely.
Testing Your New Lights
Once everything is installed, turn the power back on and test your lights. Check each one to ensure they work properly and illuminate the room as you envisioned. If a light doesn’t work, double-check your wiring connections or consult a professional. By following these steps, you’ll add a touch of elegance and practicality to your space. Have you considered how different lighting can change the mood of your room? The right lighting can make all the difference.
Finishing Touches
The finishing touches in a lighting project bring everything together. After installing recessed lighting, a few steps remain to complete the look. These final steps ensure the lighting not only works well but also enhances the room’s decor.
Install Trim Kits
Trim kits cover the edges of the light fixtures. They give a polished look to the installed lights. Choose a style that matches your room’s theme. Options include baffle, reflector, and decorative trims.
Check For Light Leaks
Look for any gaps around the fixtures. Light leaks can spoil the overall look. Use caulk or insulation to seal these gaps. This step also helps with energy efficiency.
Adjust Light Direction
Some recessed lights allow direction adjustments. Aim the lights to highlight specific areas. Focus on artwork, bookshelves, or seating areas. This adds depth and interest to the room.
Dimmer Switch Installation
Dimmer switches offer control over light intensity. They help create different moods. Ensure the bulbs are dimmer-compatible. Install the switch near the room entrance for convenience.
Test The Lighting
Turn on the lights and observe the room. Ensure even light distribution. Check for any flickering or dim areas. Make adjustments as needed for the perfect ambiance.
Credit: www.recessedlightingoc.com

Credit: diy.stackexchange.com
Frequently Asked Questions
What Tools Do I Need To Install Recessed Lighting?
You need a drill, wire stripper, screwdriver, and a drywall saw. These tools help with installation.
How Do I Choose The Right Recessed Lighting Size?
Consider room size and ceiling height. Larger rooms need bigger lights. Lower ceilings need smaller lights.
Can I Install Recessed Lighting Without Professional Help?
Yes, if you’re comfortable with electrical work. Follow safety guidelines and local codes for best results.
Conclusion
Recessed lighting adds charm and function to any room. You can transform spaces with a few simple steps. Measure carefully. Plan your layout. Use the right tools and materials. Safety is key; switch off the power before starting. Installing these lights can be a fun project.
It enhances your home’s ambiance. Take your time and enjoy the process. You’ll see a brighter, more welcoming space. With patience, your room will shine with elegance. Enjoy your new lighting!
Related Article